Check this task off your to-do list once and for all.
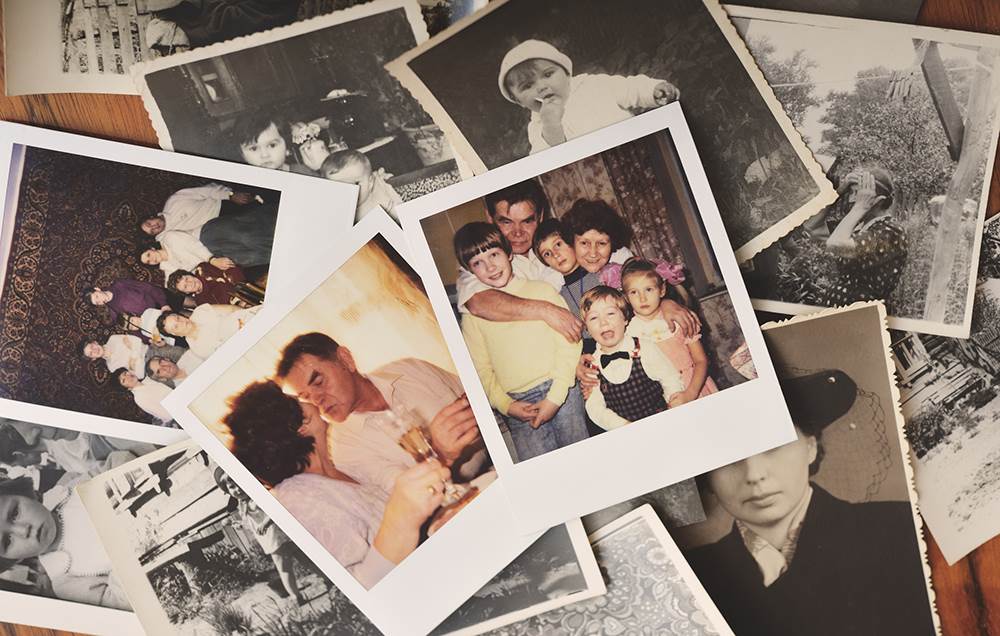
If you’re anything like most people, you probably have old paper photos stashed in multiple places—in a box in the closet, in fading photo albums, and maybe even in the bottom drawer of your nightstand. You keep telling yourself that you’ll get them all sorted out eventually, but it never happens.
Well, now’s the perfect time to tackle the task. Not only do you have the whole “New Year, Fresh Start” thing to give you a kick in the butt, but it’s better to get to those snaps sooner rather than later.
“Old paper photographs deteriorate over time and if you don’t take care of them properly, the colors may fade, the paper may mildew, or the photo could become damaged in some other way that makes it difficult to see the image,” says professional organiser Denise May Levenick. So if you want to preserve your family memories, it’s vital that you take steps now to safeguard your photos, she says.
(Want to pick up some healthier habits? Sign up for FREE to get healthy living tips, weight loss inspiration, slimming recipes and more delivered straight to your inbox!)
Sure, organising tonnes of photos will be time-consuming; however, there are benefits to finally getting it done. Research has shown clean and organised spaces can help reduce stress, make you happier, and may even help you make healthier eating choices. Plus, as you go through the photos, you’ll relive the emotions associated with them—so you may let out a huge belly laugh at that snap of Grandpa in a goofy costume or feel a sense of overwhelming love while looking at a pic of your child when she was a newborn. Finally tackling that pile of photos will also eliminate your lingering guilt about having the task on your to-do list forever, and you’ll have a sense of accomplishment when you’re finished.
So, crank up the tunes or put on a good TV show and get to it! Here's exactly how to organise all those old photos—and share the good memories with the rest of your family:
Displaying your photographs
When it comes to showcasing photos in your home, your only limit is your imagination. In addition to placing them in frames, there are a number of other ways to display your photos creatively. Get a supersize copy of a print and large frame (or have the snap reprinted as a canvas) so it can serve as the focal point of a room. A wall collage, when done correctly, is another classy way to decorate a large space or hallway and show off a bunch of pics all at once.
If you’re looking to do smaller-scale displays, you can cover a lampshade with favourite photos, create mini Polaroid magnets for the fridge, or place photos in glass jars or bottles and arrange them on a mantel or shelf. Another option is digital frames. “Digital photo frames cycle through images one at a time, so you have a constantly changing display,” says professional organiser MaryJo Monroe. “This is a great option if you have old photos that are too fragile or too numerous to hang in conventional frames on the wall,” she says.


Sort it out
Before you grab one of your multiple piles of photos, put together a work area that will give you ample space, like the kitchen table or even the floor of your guest room. Cover the area with a clean cloth and then put on some cotton gloves.
Why the gloves? “No matter how often you wash your hands, your skin has natural oils that can be transferred to the photo paper,” says Cheri Warnock, a photo organiser. “Each time you handle a photo, you leave behind a little contact that speeds up the deterioration of the photo.” This is true whether the pic was printed just a month ago or 100 years ago, she adds. So if you really want to protect your photos, rock the cotton gloves.
Gather up all the photos so you can see what (and how much) you have to work through. Then decide how you want to sort them, using whatever system works best for you. For instance, you can organise by categories like holidays, family, friends or vacation; you can arrange the photos by year or decade; or you can group them by individual family members (so photos of your spouse and his stuff would go in one pile; pics of you and your stuff would go in another).
Once you’ve decided how you’ll sort the photos, go through them one by one and put them into the designated pile. If you have photos from past generations, or your family is just big on pictures, you could find you have thousands of photos and dozens of sorted piles. Try not to freak out. You don’t have to complete the job in one day. Work with one or two piles a day (or week) and continue until you’re finished.
One thing that will help lighten your load is tossing photos that are duplicates, blurry, unrecognisable due to damage, or that are uninteresting or have no meaning (like the one of that guy you had a crush on in 9th grade). Have a wastebasket nearby and use it.
Get digital
Once you’ve determined which pics you want to keep, it’s time to get them into digital form. There are many photo organisers that will do this part of the job for you, or you can DIY.
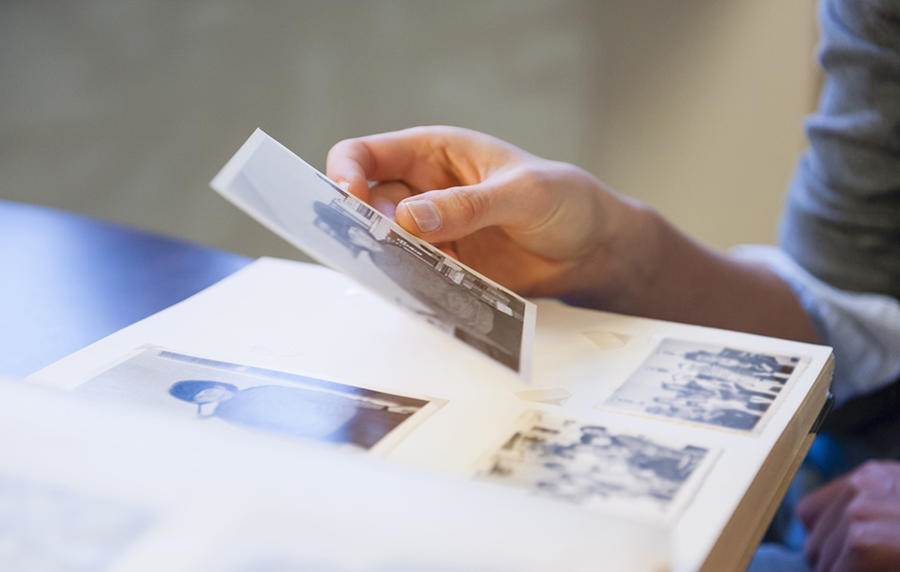
“When digitising your photos yourself, make sure you are handling the originals carefully to prevent bends or tears in the photos,” Warnock says. She recommends using a flatbed scanner and scanning at 600 dpi so the digital version is a high enough quality to use in photo books or for enlargements. Don’t forget to scan the back of the picture if it has an important message or provides information about the photo.
If you have photos in those so-called “magnetic” photo albums—you know, the ones with the sticky pages and plastic page covers—you may find it darn near impossible to get them off the page. Take the photos out of the book when possible. If not, scan the whole page and then separate the pictures into individual images.
Another option for getting printed photos into digital form is to use a scanning app like Google PhotoScan, which allows you to take a picture of the picture, digitising it with your smartphone.
Once photos are digitised, you can use image-editing software to correct colour, remove dust and scratches, or even crop an unwanted person out of the photo.
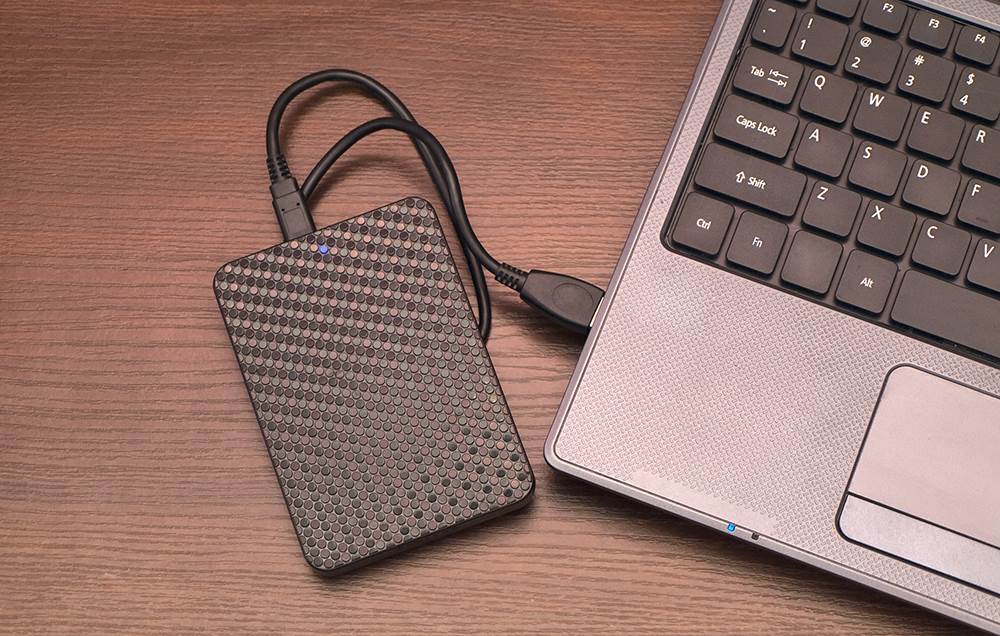
Backup, backup, backup
Digitising your photos won’t mean a thing if your hard drive fails and wipes out every image, including that one remaining photo of your grandparents’ wedding. To prevent that, Levenick recommends using what’s known as “Backup 3-2-1.” That means you have three copies of each photo on two different kinds of media, with one of them being offsite, she explains. So an example would be having a copy on your computer, a copy on your external hard drive, and a copy stored somewhere on the cloud (for instance, in a Dropbox account).
A word of warning: Don’t rely on social media sites like Facebook and Instagram for your backups. The sites downgrade the resolution of your images, so should you need to enlarge a photo, you may find it isn’t of good quality, Levenick says.
Another word of advice for your sanity: Pick one offsite backup. Finding a specific photo will be extremely difficult if you have photos spread out amongst multiple different services.
Sharing and passing on memories
Social media seems to be the default way to share photos nowadays. But there are many other options, too. Photo sharing sites like Flickr, Photobucket, and Google Photos make it easy to show off pics and possibly allow family and friends to print copies of their own. For instance, if you’re looking to share a collection of snapshots from your vacation or family reunion, a photo book, which you can create online or have a professional create for you, is a good choice. You can send your creation through email, post it online, or print it as a keepsake. Older relatives may especially enjoy printed copies since they like something they can hold, Levenick says.
Other possibilities for sharing your pictures are nearly endless: calendars, pillows, photo phone cases, colouring pages (kids will love this one), puzzles, vases, clocks, photo quilts, and more. Basically, any project or gift idea you can think of, you can probably add a photo to it.
Storing your photos
Don’t dare toss your pics back in a shoebox! Wood and wood products, like cardboard and paper, contain acids that will cause photos to yellow and get brittle over time, so they aren’t good for storage, Levenick says. Instead, it’s better to use acid-free archival boxes, which you can get from archival suppliers and some office supply stores, or purchase online. The boxes are a little pricier than the photo storage boxes you might find at craft stores; however, since they’re acid-free, they resist damage from environmental pollutants.
Even with these superior boxes, don’t just toss the photos inside. “It’s better for the photographs if they’re standing on one edge,” Levenick says. “When you stack them, they rub against each other and can get scratched,” she explains. If you must stack your photos, put them in acid-free envelopes or plastic sleeves that have passed the Image Permanence Institute's Photo Activity Test (P.A.T.), which is the international standard test.
As for where to store your photos, skip the basement, attic, or garage. The fluctuating temperatures and humidity in these areas can be harmful to photos. Instead, keep them in a cool, dark, dry area away from dust and bugs. A shelf in a closet is always a good choice. And if you get acid-free boxes with matching designs, they will look great (and stay safe) lined up on a shelf in the family room, Monroe says.
Taking the time to store your photos properly will help preserve your family’s memories for years and decades to come.